이 글 목차
NestJS WebSocket 레퍼런스
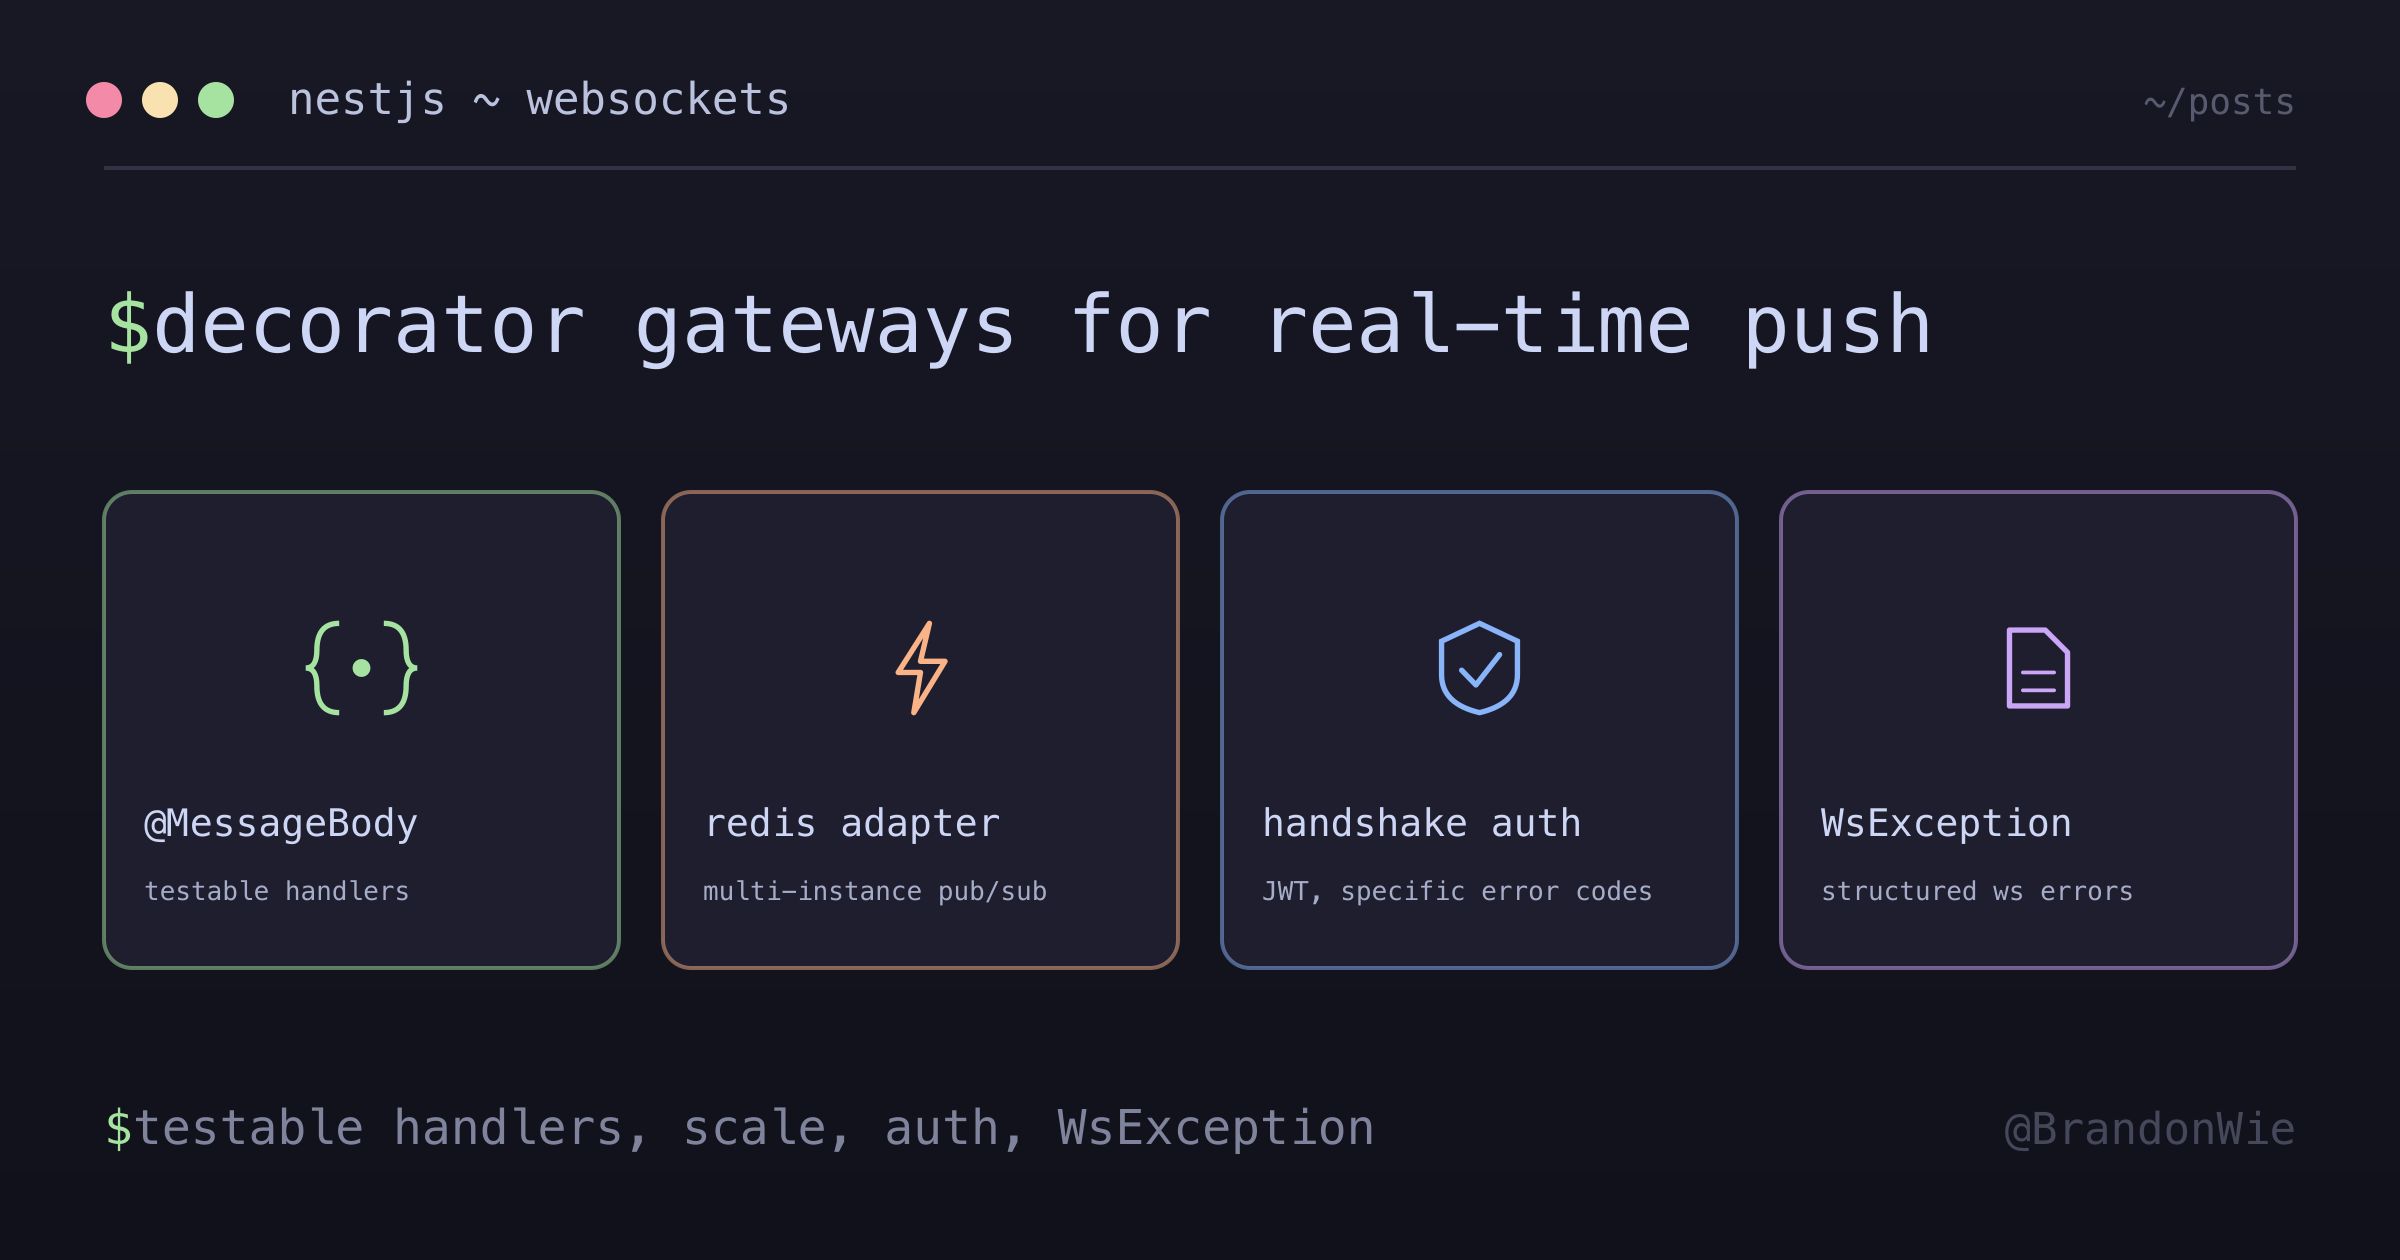
NestJS에서 WebSocket 기능을 구현하기 위한 종합 레퍼런스.
NestJS 앱에 실시간 알림을 붙여야 했어요. 캘린더 이벤트가 바뀌면 연결된 클라이언트 모두에게 라이브 업데이트를 밀어주는 기능이었거든요. REST 폴링으론 원하는 반응 속도가 안 나왔어요. NestJS는 gateway 시스템으로 WebSocket을 first-class로 지원하지만, 핵심 패턴들이 문서 여기저기 흩어져 있어요. 시작할 때 한 곳에 모아져 있었으면 했던 레퍼런스를 정리한 글이에요.
기본 Gateway 설정
NestJS의 WebSocket gateway는 @WebSocketGateway로 데코레이트한 클래스예요.
들어오는 WebSocket 연결과 메시지를 처리해요. @WebSocketServer() 데코레이터로
브로드캐스트에 쓸 Socket.IO 서버 인스턴스에 접근할 수 있어요.
@WebSocketGateway(80, { namespace: "events" })
export class EventsGateway {
  @WebSocketServer()
  server: Server;

  @SubscribeMessage("events")
  handleEvent(@MessageBody() data: string): string {
    return data;
  }
}
데코레이터 안에서 포트, namespace, transport 옵션을 설정할 수 있어요.
// 포트와 namespace
@WebSocketGateway(80, { namespace: 'events' })

// Transport 옵션
@WebSocketGateway(81, { transports: ['websocket'] })
메시지 처리
NestJS는 메시지 핸들러를 두 가지 스타일로 지원해요. 권장은 @MessageBody()예요.
파라미터 추출이 깔끔하고 테스트도 쉬워요.
@SubscribeMessage('events')
handleEvent(@MessageBody() data: string): string {
  return data;
}
클라이언트 소켓에 직접 접근해야 하면 첫 번째 파라미터로 받고 WsResponse를
반환하면 돼요.
@SubscribeMessage('events')
handleEvent(client: Client, data: unknown): WsResponse<unknown> {
  return { event: 'events', data };
}
@MessageBody() 방식이 선호되는 이유는 핸들러 로직과 소켓 구현을 분리해주기
때문이에요. unit test가 단순해져요. 클라이언트 연결을 mock할 필요 없이 핸들러를
직접 호출하면 끝이거든요.
Redis adapter로 다중 인스턴스 지원
NestJS 앱이 여러 컨테이너(ECS, Kubernetes)에서 돌고 있으면, 기본 상태에선 WebSocket 메시지가 같은 인스턴스에 연결된 클라이언트에게만 전달돼요. Redis adapter는 Redis pub/sub로 모든 인스턴스에 브로드캐스트해서 이걸 풀어줘요.
npm i --save redis socket.io @socket.io/redis-adapterimport { IoAdapter } from "@nestjs/platform-socket.io";
import { createAdapter } from "@socket.io/redis-adapter";
import { createClient } from "redis";
export class RedisIoAdapter extends IoAdapter {
private adapterConstructor: ReturnType<typeof createAdapter>;
async connectToRedis(): Promise<void> {
const pubClient = createClient({ url: `redis://localhost:6379` });
const subClient = pubClient.duplicate();
await Promise.all([pubClient.connect(), subClient.connect()]);
this.adapterConstructor = createAdapter(pubClient, subClient);
}
createIOServer(port: number, options?: ServerOptions): any {
const server = super.createIOServer(port, options);
server.adapter(this.adapterConstructor);
return server;
}
}main.ts에서 adapter를 적용해요.
const redisIoAdapter = new RedisIoAdapter(app);
await redisIoAdapter.connectToRedis();
app.useWebSocketAdapter(redisIoAdapter);
adapter는 pub client와 sub client를 따로 만들어요. Redis pub/sub은 게시와 구독을
별도 연결로 잡아야 하거든요. 한 번 붙여두면 server.emit()이나 server.to(room).emit()이 자동으로 Redis를 통해 모든 인스턴스에 전파돼요.
인증
WebSocket 연결은 HTTP 요청과 같은 미들웨어 파이프라인을 안 타요. 인증은 handshake 단계에서 일어나요. handshake auth 객체나 query 파라미터에서 JWT를 꺼내요.
@Injectable()
export class WsAuthGuard implements CanActivate {
  canActivate(context: ExecutionContext): boolean {
    const client = context.switchToWs().getClient();
    const token =
      client.handshake?.auth?.token || client.handshake?.query?.token;

    if (!token) {
      throw new WsException("MISSING_TOKEN");
    }

    try {
      const decoded = this.jwtService.verify(token);
      client.data.userId = decoded.userId;
      return true;
    } catch (error) {
      if (error.name === "TokenExpiredError") {
        throw new WsException("EXPIRED_TOKEN");
      }
      throw new WsException("INVALID_TOKEN");
    }
  }
}
에러 코드를 구체적으로 잡아둔 점에 주목하세요(MISSING_TOKEN, EXPIRED_TOKEN, INVALID_TOKEN). 두루뭉술한 메시지를 던지면 클라이언트 쪽 처리가 어려워져요.
구조화된 코드가 있어야 클라이언트가 “재인증해야 함”과 “뭔가 잘못됨”을 구분할
수 있어요.
예외 처리
WebSocket 예외는 HTTP 예외 대신 WsException을 써요. 구조화된 에러 이벤트를
보내려면 커스텀 필터를 만들어요.
@Catch(WsException)
export class WsExceptionFilter {
  catch(exception: WsException, host: ArgumentsHost) {
    const client = host.switchToWs().getClient();
    client.emit("error", {
      code:
        typeof exception.getError() === "string"
          ? exception.getError()
          : "INTERNAL_ERROR",
      message: exception.message,
    });
  }
}
Validation
ValidationPipe를 쓰고, validation error를 WsException으로 감싸는 커스텀
exception factory를 넣어요.
@UsePipes(new ValidationPipe({
  exceptionFactory: (errors) => new WsException(errors)
}))
@SubscribeMessage('events')
handleEvent(@MessageBody() dto: CreateMessageDto): WsResponse<unknown> {
  return { event: 'message-created', data: dto };
}
자주 쓰는 패턴
사용자별 room 구독
연결 시점에 사용자 전용 room에 join시키고, room 이름으로 특정 사용자에게만 이벤트를 보내요.
handleConnection(client: Socket) {
  const userId = client.data.userId;
  client.join(`user:${userId}`);
}

notifyUser(userId: number, data: any) {
  this.server.to(`user:${userId}`).emit('notification', data);
}
Namespace 브로드캐스트
namespace 안의 모든 연결된 클라이언트에 브로드캐스트해요.
@WebSocketGateway({ namespace: "chat" })
export class ChatGateway {
  @WebSocketServer()
  server: Server;

  broadcastMessage(message: string) {
    this.server.emit("message", message);
  }
}
정리
NestJS WebSocket gateway는 데코레이터 기반 API로 실시간 통신을 깔끔하게 풀어줘요.
챙겨야 할 네 가지는 이거예요. 테스트 가능한 핸들러를 위해 @MessageBody()를
쓰고, 다중 인스턴스 배포에는 Redis adapter를 붙이고, handshake에서 인증을 하면서
에러 코드를 구체적으로 던지고, WebSocket 컨텍스트에서는 HTTP 예외 대신 항상 WsException을 던지세요.